Adding Data to a Model
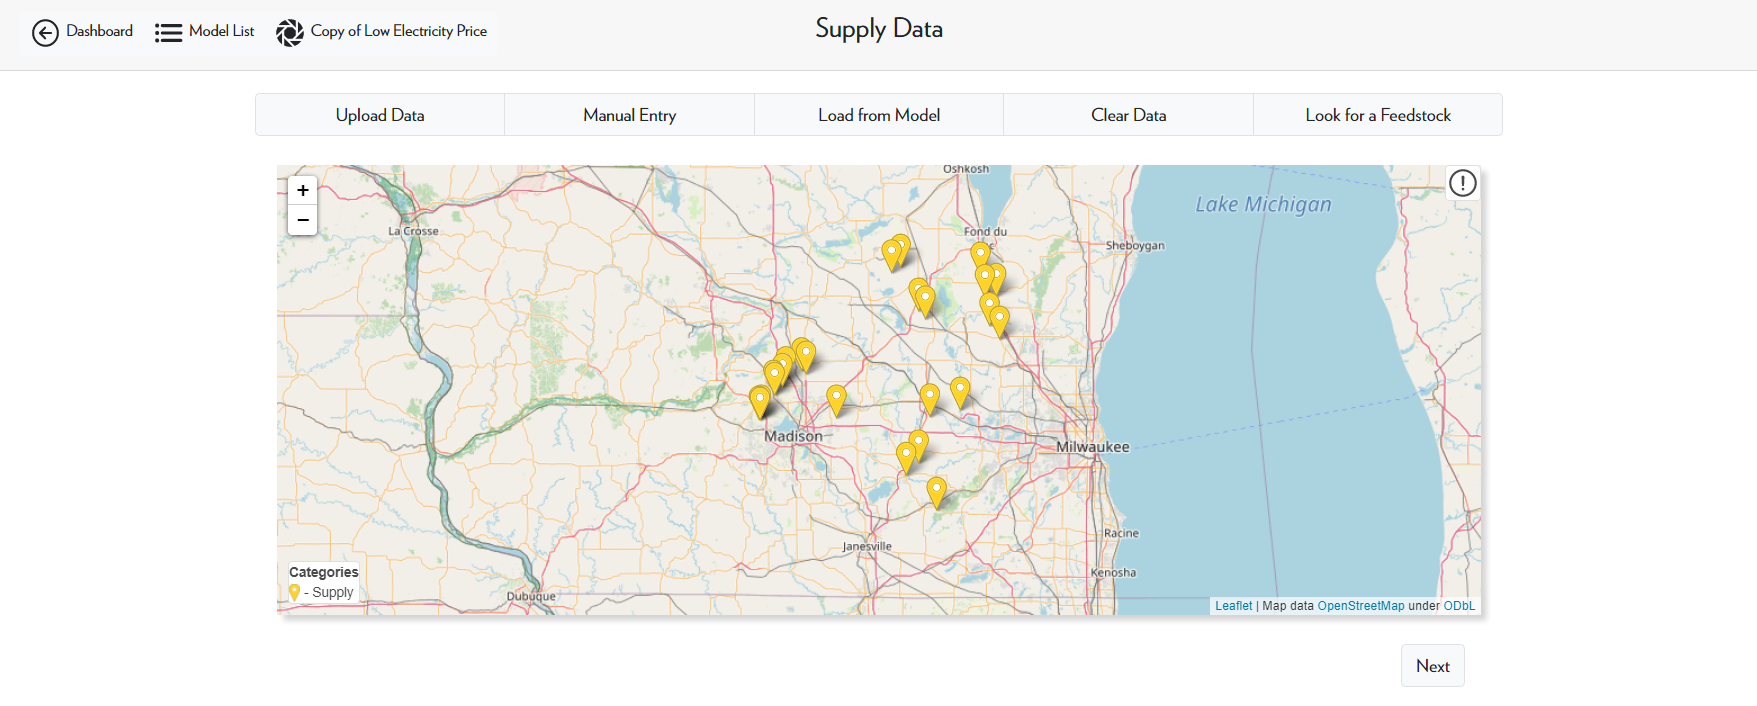
In this tutorial, we will go over how to use the upload data, manual entry, and load from model options.
Upload Data
The first option we will go over is the Upload Data option. This option allows you to upload many data points at once by uploading a CSV file.
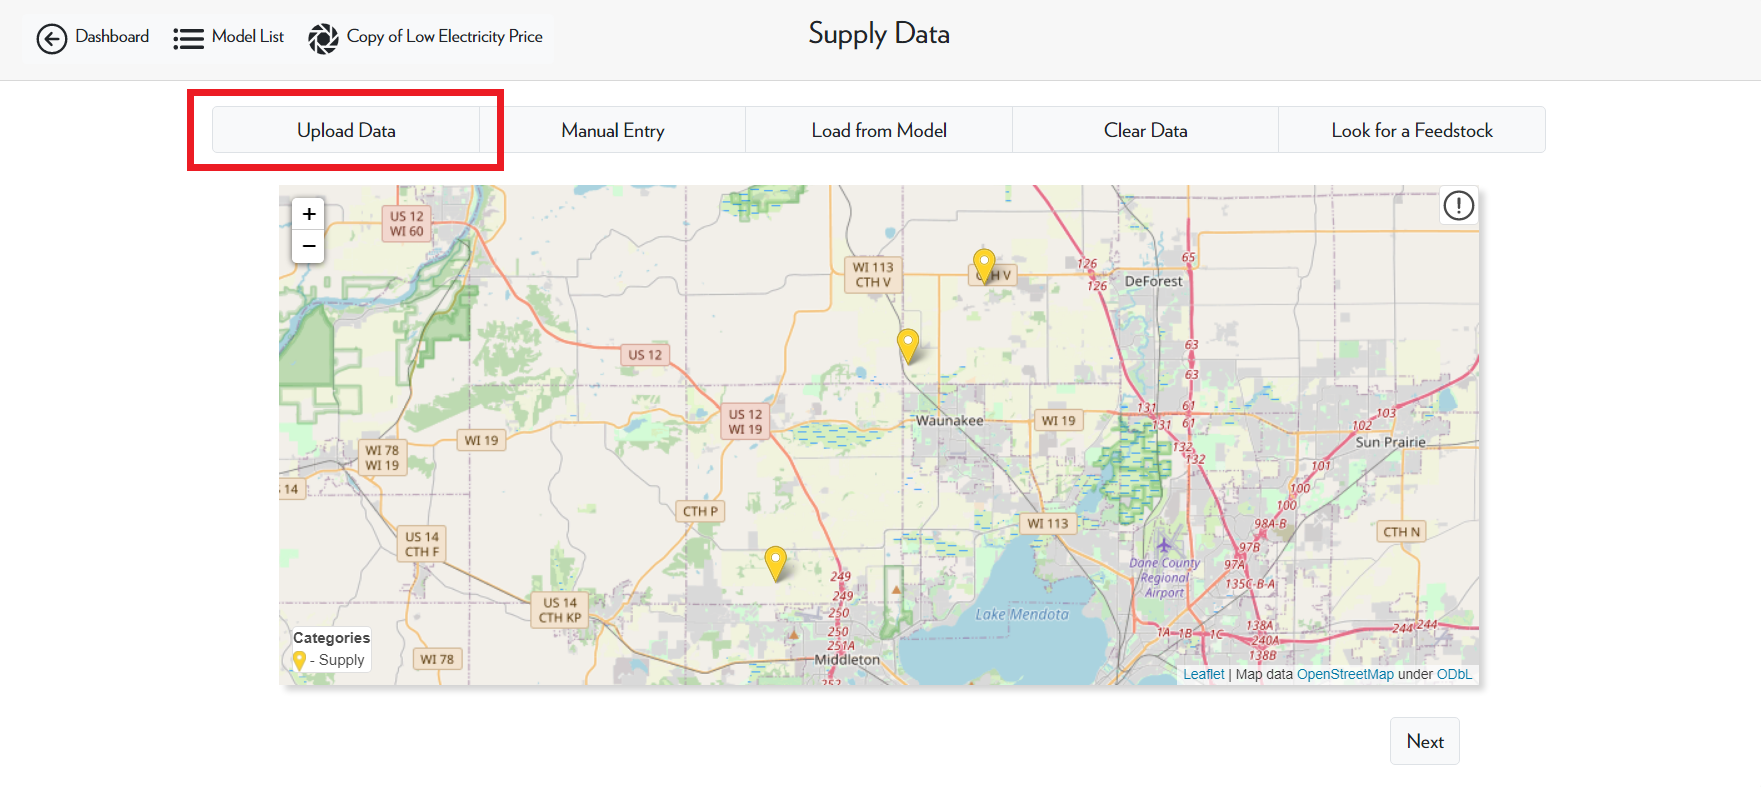
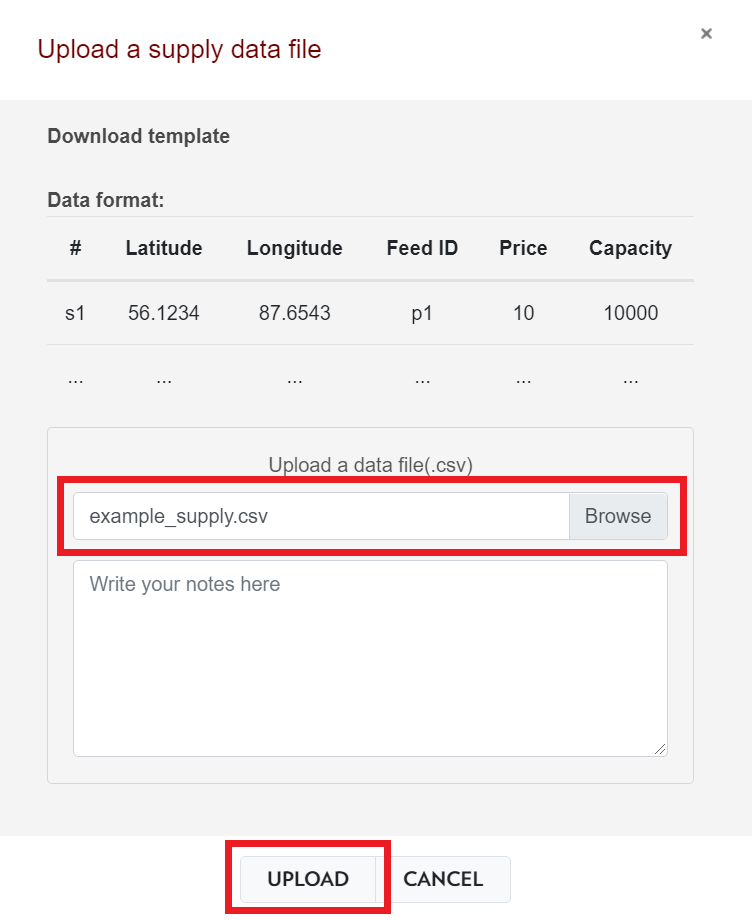
After selecting Upload Data, browse to the desired file and click Upload. The csv file that we will be using in this example can be found and downloaded here.
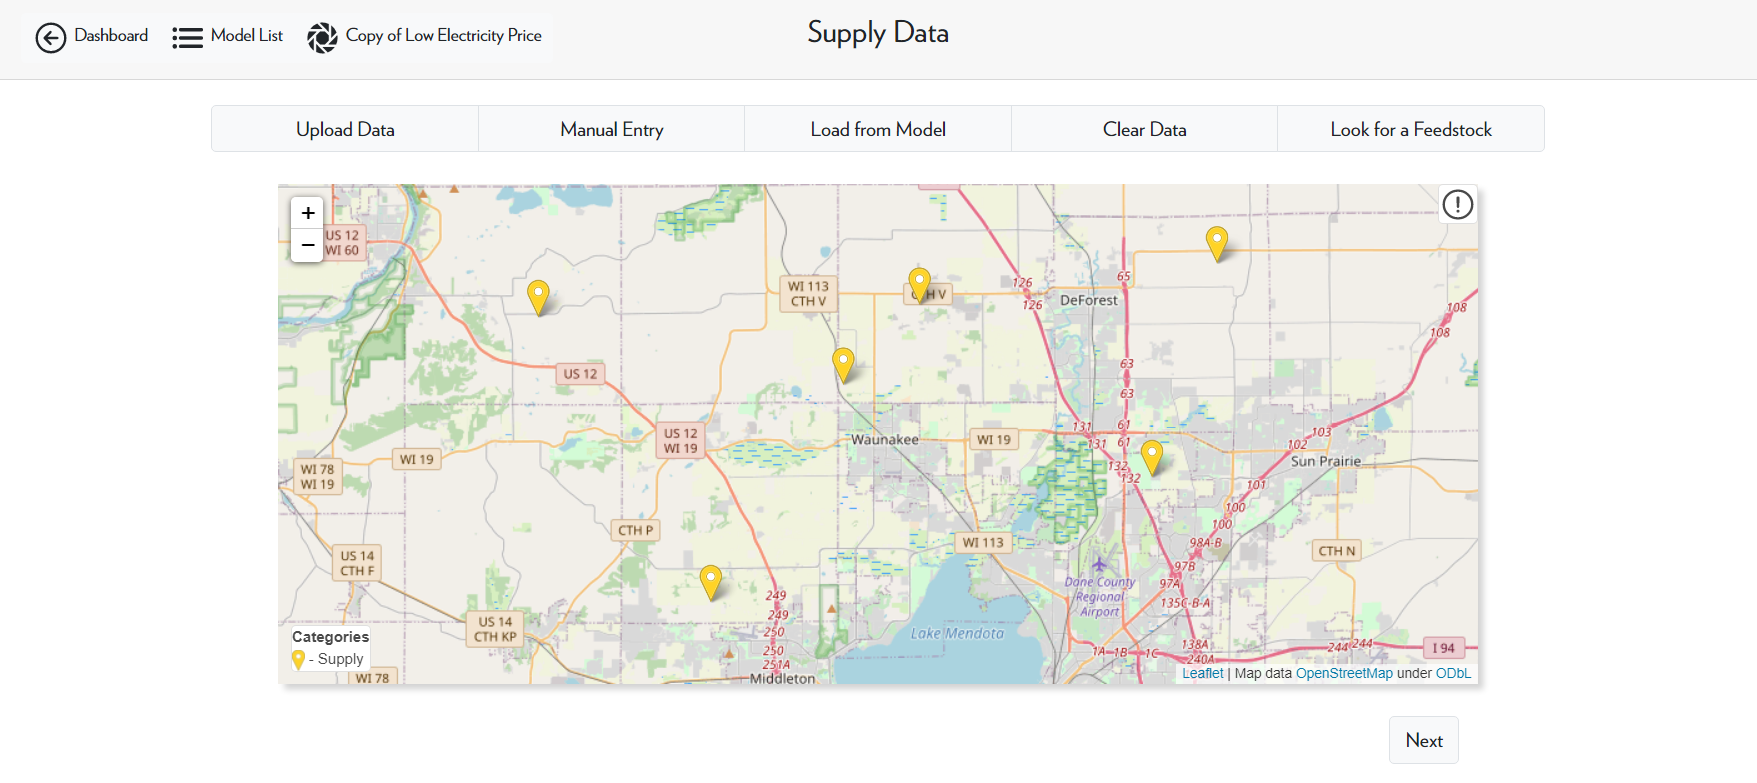
After doing this, you will have successfully uploaded new data points to the model. Clicking Next located at the bottom right will save these points in the model.
The Upload Data function for uploading the technology and demand data are essentially the same as uploading the supply data except with different csv files.
Note: when uploading the technology data file(s), make sure you select the correct type (i.e. candidate or site) before you upload.
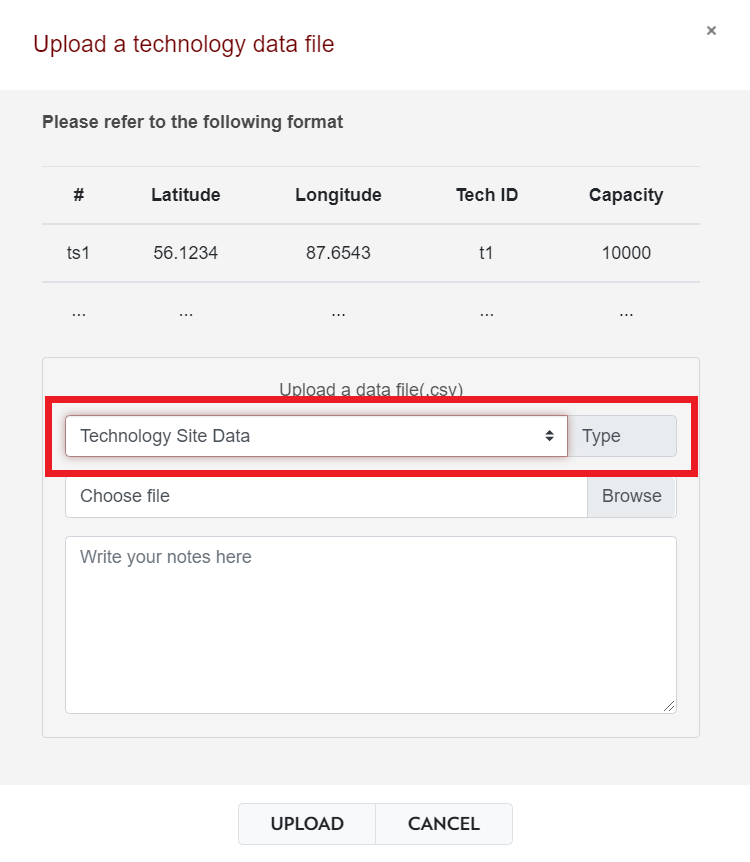
For more information on the csv files and the data that it contains, please refer the Input Files tutorial. This tutorial also contains a link where you can download template files for ADAM.
Manual Entry
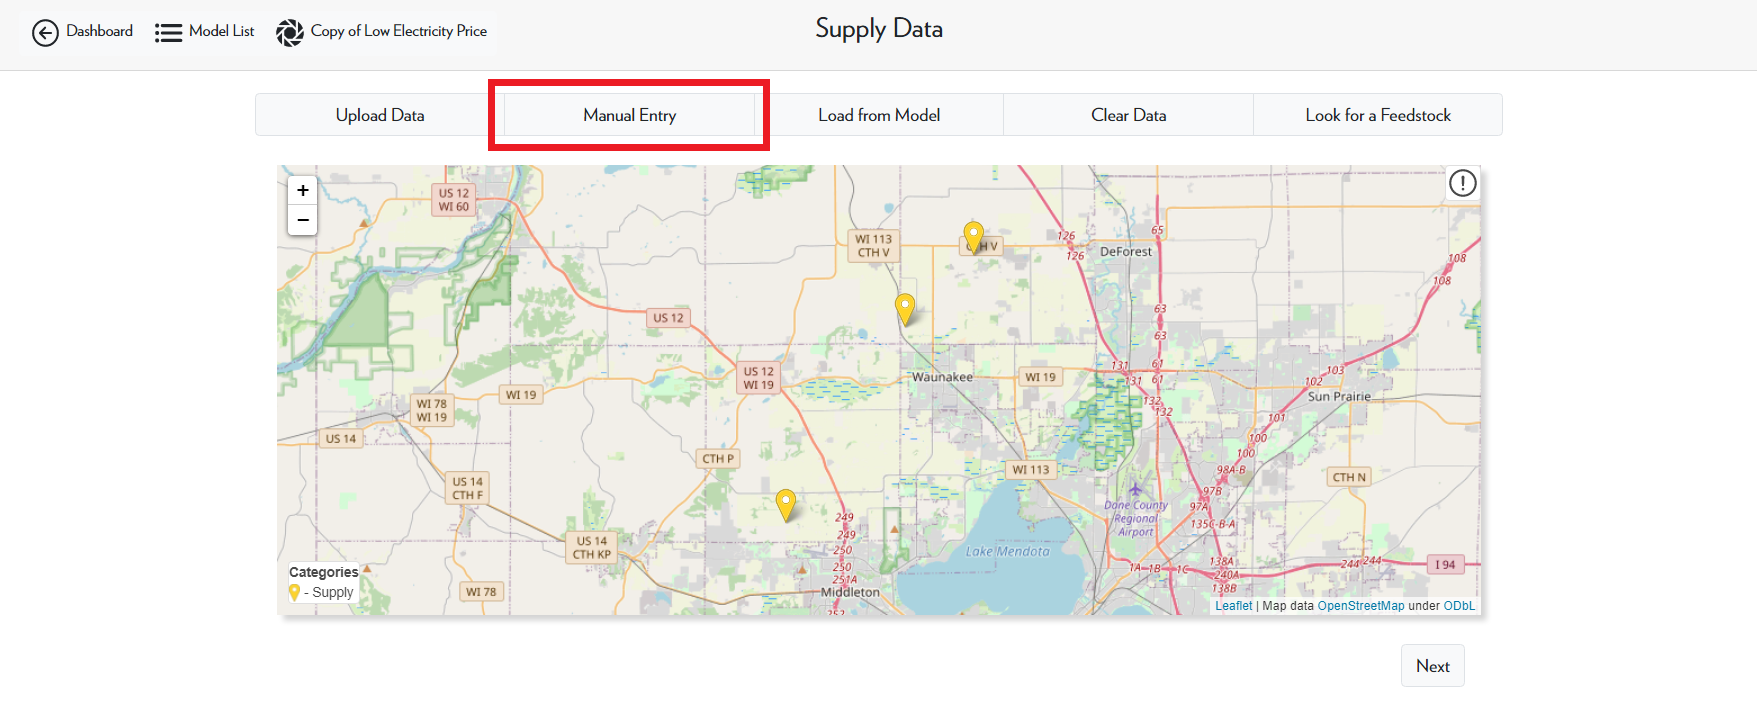
Manual Entry allows you to upload a singular point by entering all the necessary information.
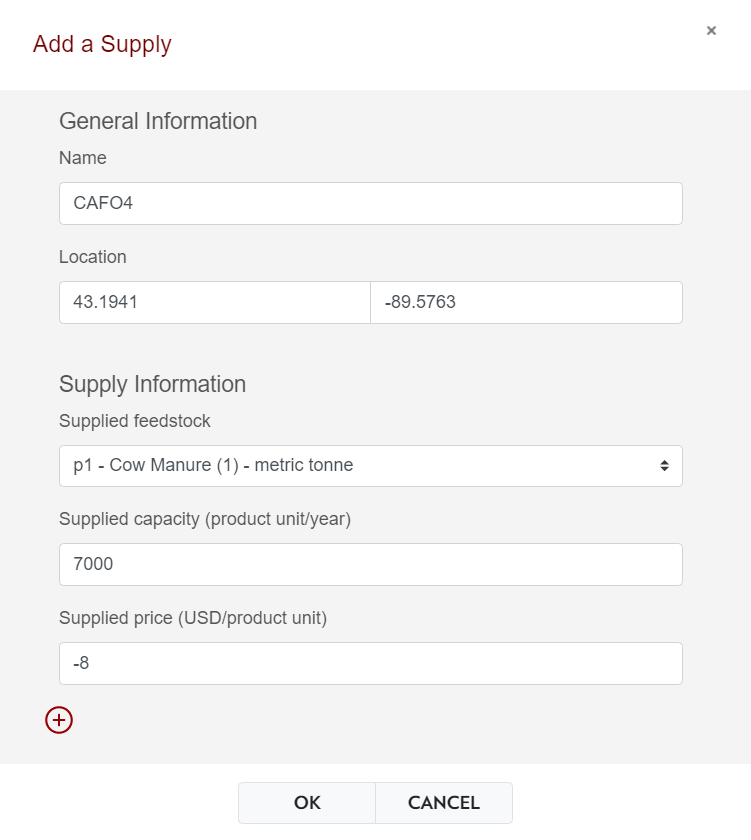
In this example, we are adding a new node named “CAFO4” at a longitude and latitude of 43.1941, -89.5763. This node supplies cow manure (p1) at a capacity of 7,000 metric tonnes per year at a price of -$8 per tonne.
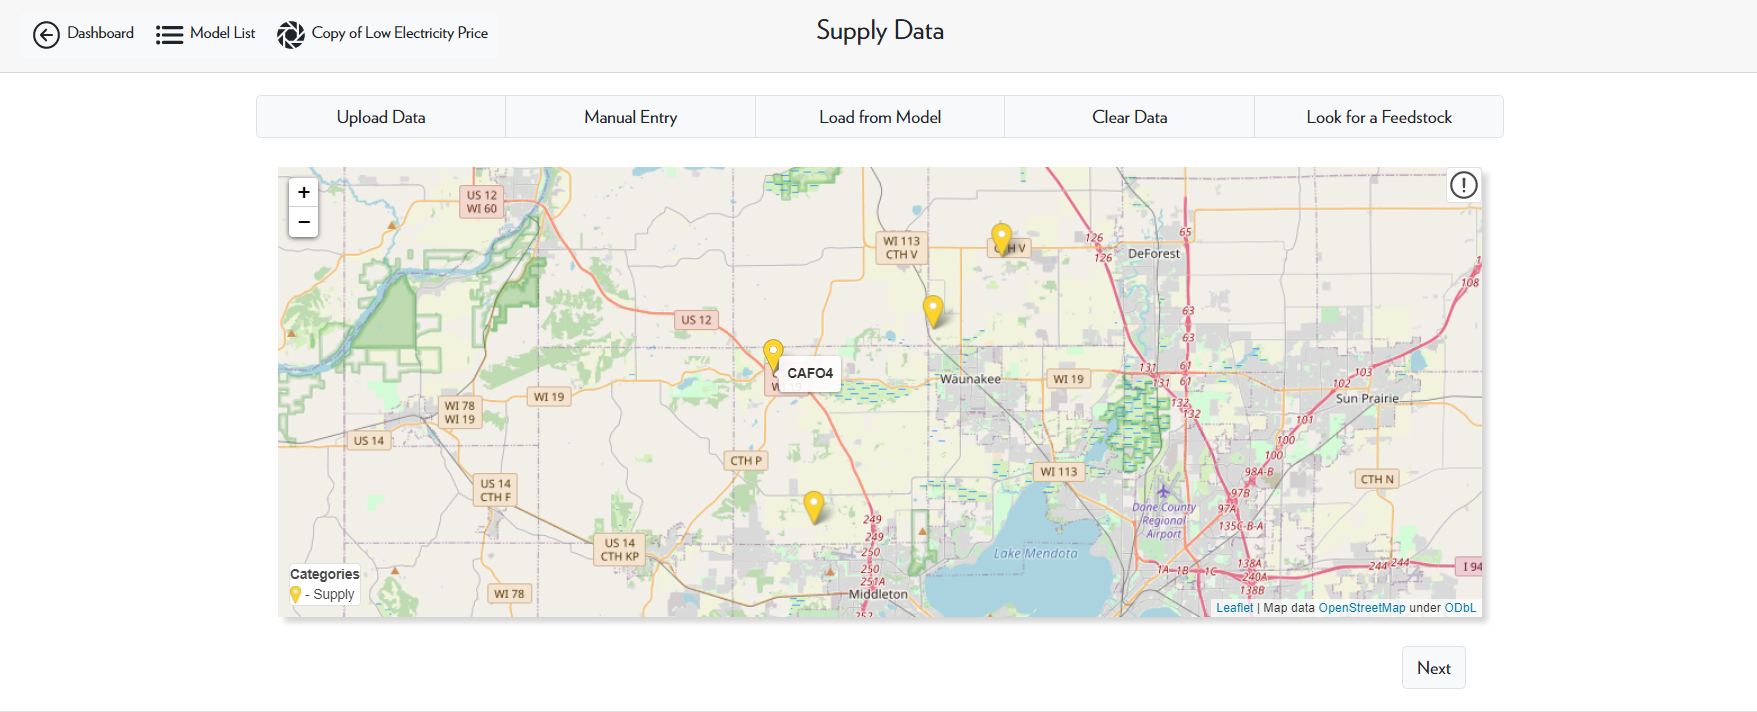
After selecting OK, the point will be successfully added to the model.
Load from Model
The final option we will go over is Load from Model. This option allows you to take data from other models in your model list and upload it into this model.
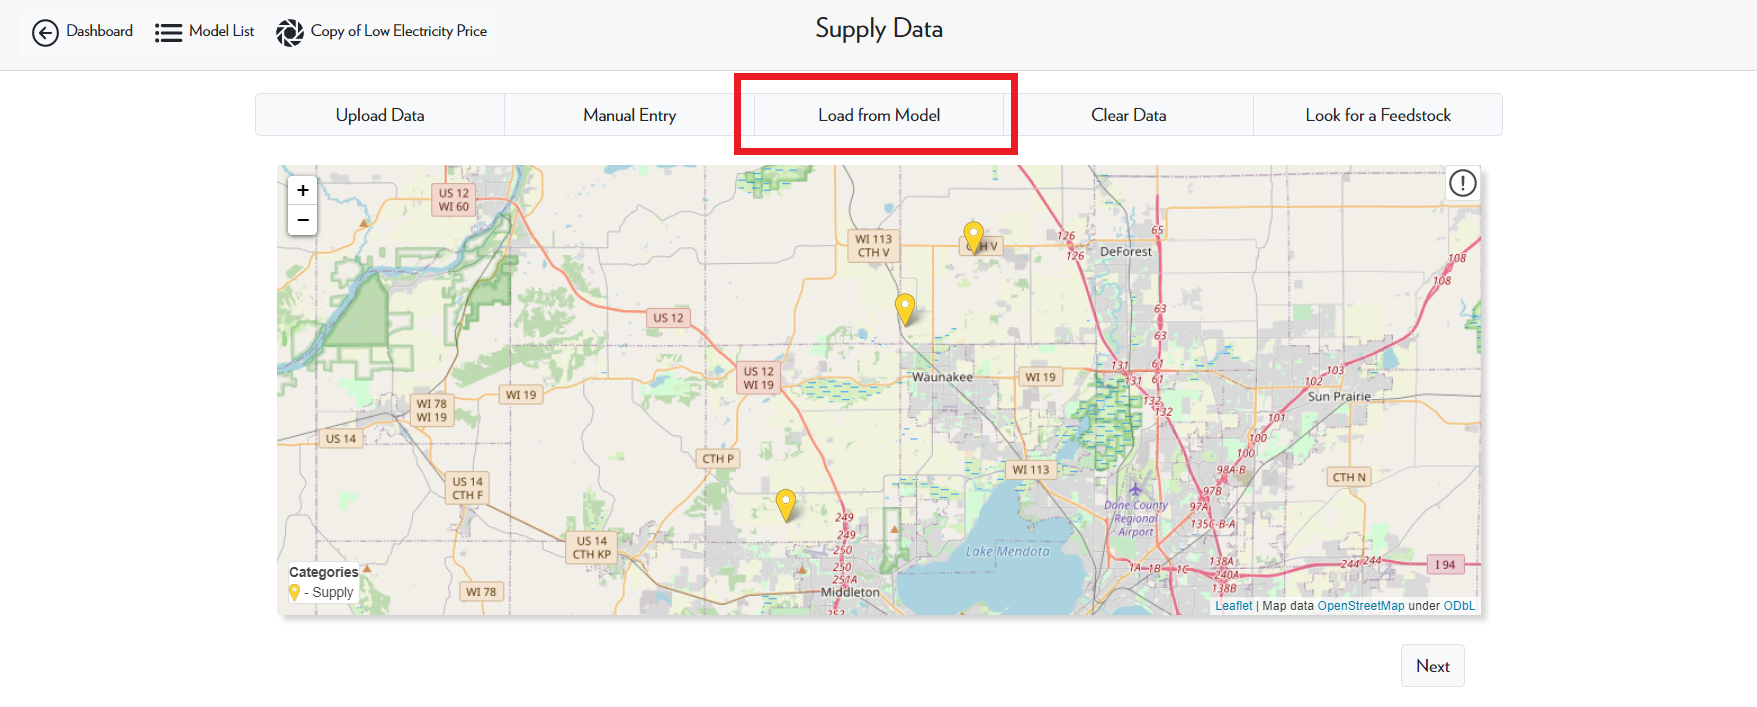
For this example, we will take data from a copy of the energy incentives case study.
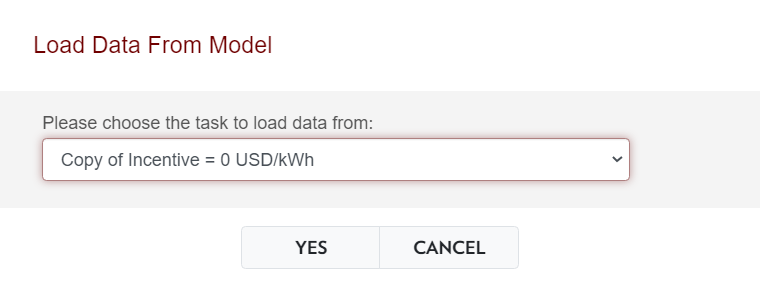
After selecting Yes, your data should be successfully uploaded into your model.
