Making a New Model from Scratch
In this tutorial, we will use the data files located at this link to demonstrate how to make your own model from scratch.
Creating a new Model
First, navigate to your model list by selecting Manage Models on the dashboard homepage. Next select New Model.

You will be prompted to enter the model name and description. The description of the model should provide a brief overview of the purpose of the model or what problem it is attempting to solve.
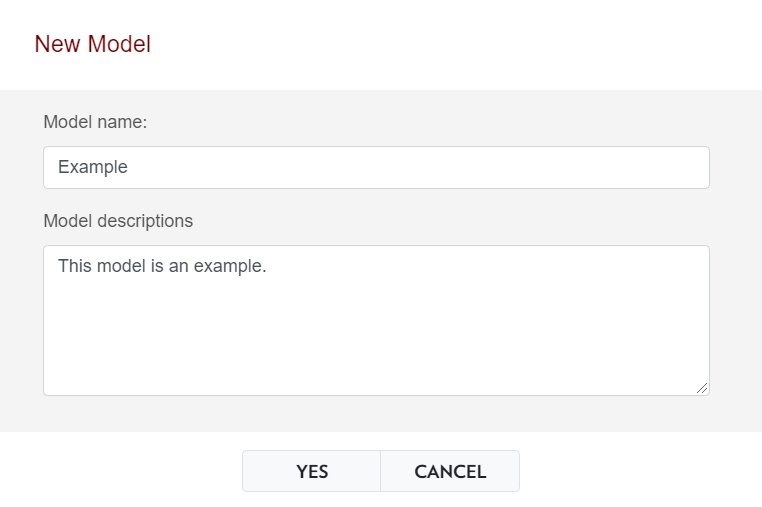
After selecting Yes, the model will be added to your model list.

Entering information in the Model
Clicking on the model will bring you into a progress bar screen with a row of buttons labeled from steps 1 through 6 and another row of buttons with various options.

The first row of buttons is where you will go to enter information about the model. The second row of buttons gives you options for what you can do with the model. It is best to use these options once the model data is complete.
For a custom model, you will need to input your own data. You can do this by creating your own supply, demand, technology site, and technology candidate files, or you can use some other method of uploading data. Please review the Input Files Tutorial for information on each file type, or the Adding Data to a Model Tutorial for various methods of adding data.
Step 1 - Model Type
Begin inputting data by selecting Step 1. You will be taken to a page where you can define the model type and the time basis.

The default model type is a Supply Chain Design type model, and the default time basis is Year. A design-type model is used when your data contains technology candidates, otherwise a management-type model is used.
The time basis is up to you. Just keep in mind that you will need to have your data in the units of your selected time basis; additionally, the results will be in the selected time units.
In this example, we will leave it as the default settings. Clicking Confirm will bring you to the next step.
Step 2 - Suppy Data
Step 2 is where you can add supply data to the model. Use the first three options to upload data. For a review on how each option works, please refer to the Adding Data to a Model Tutorial.
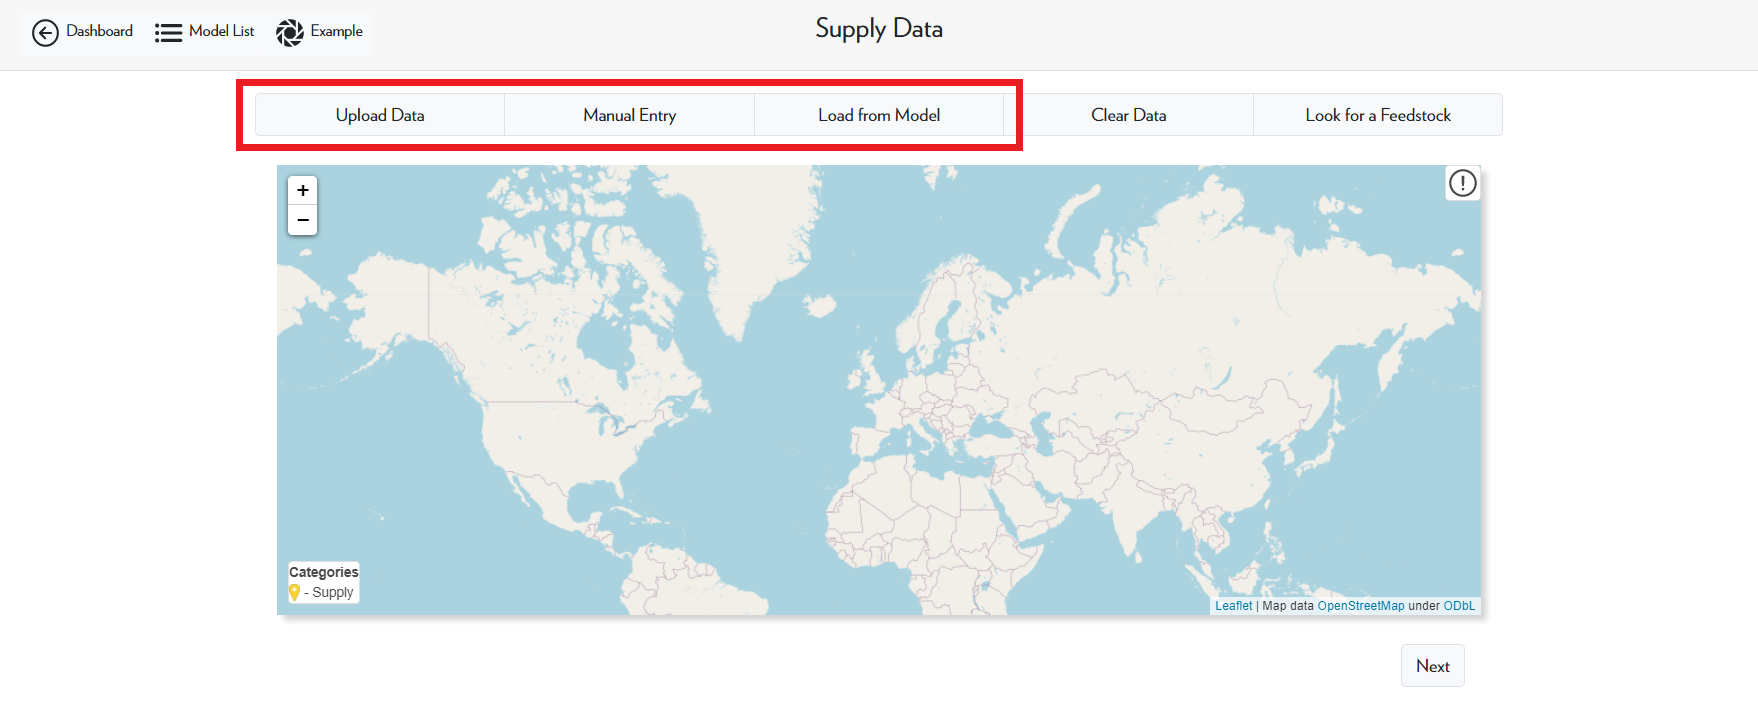
After uploading the example supply file, the model should look like this:
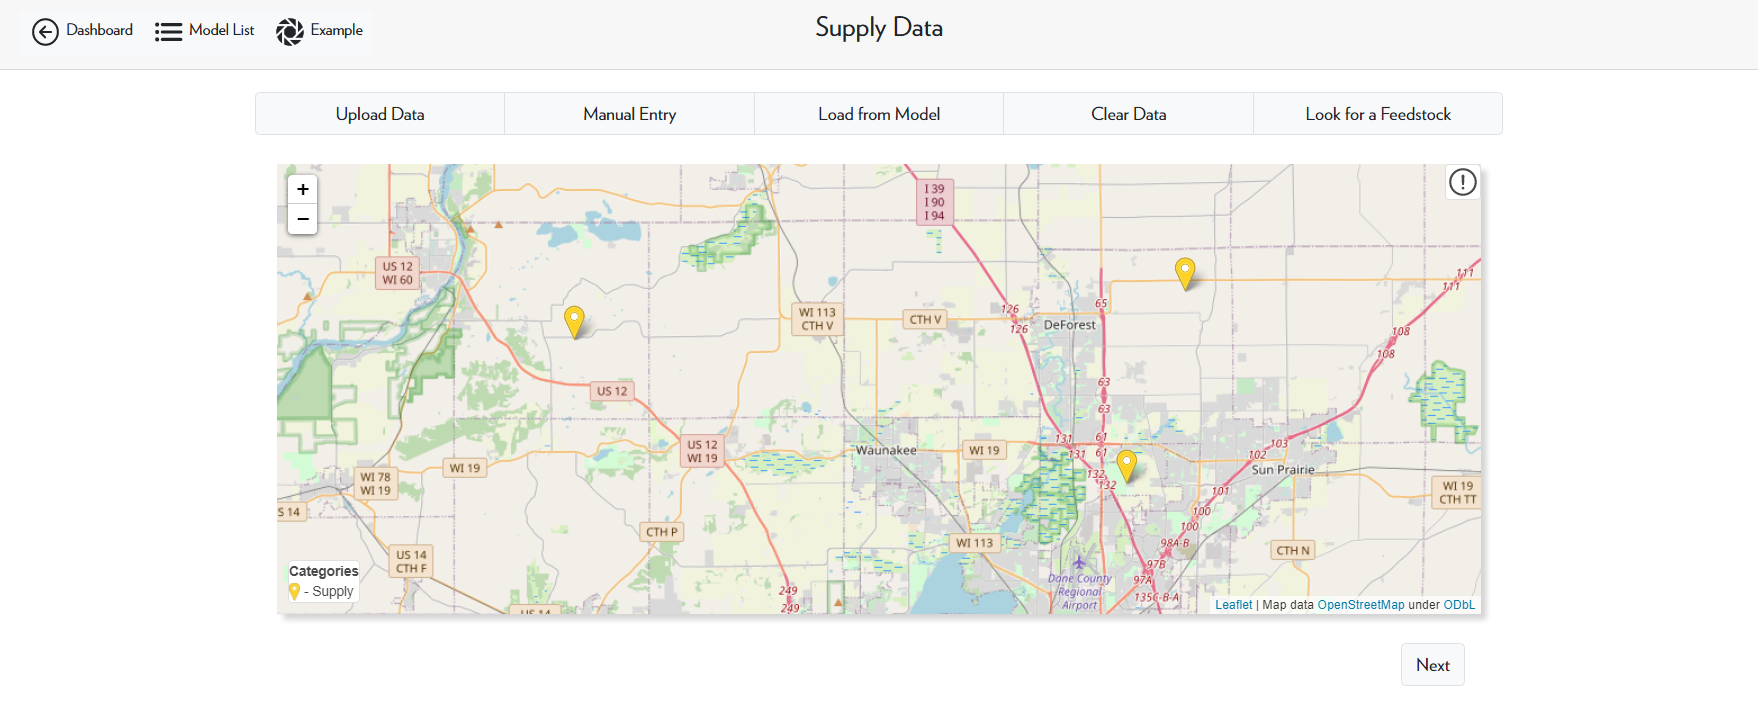
Then click Next to save the supply data and proceed to the next step.
Step 3 - Demand Data
Similar to the supply data, we will upload a CSV file containing the demand data in step 3. After uploading the example, the model should look like this:
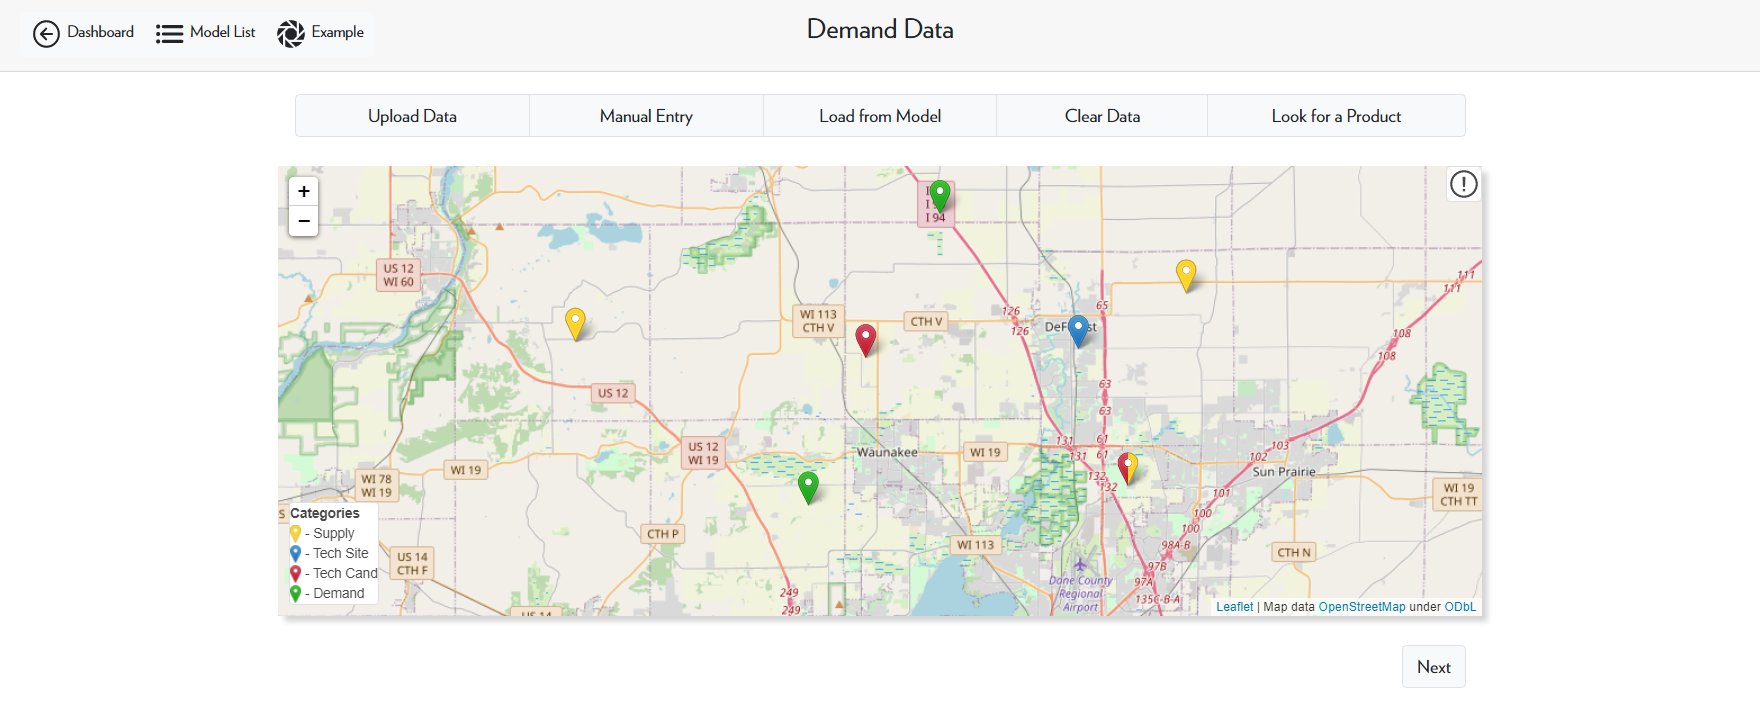
Then click Next to save the demand data and proceed to the next step.
Step 4 - Technology Data
In step 3, we will upload our technology data using the same method as before. When uploading the technology data, make sure to toggle the Type to match the file.
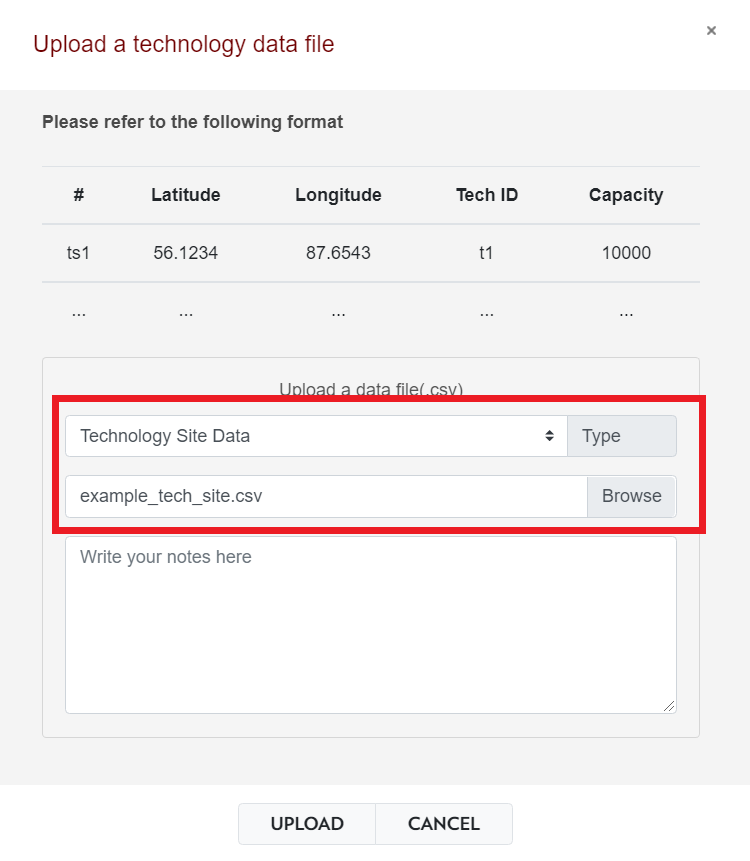
ADAM only allows you to upload one file at a time so first select Technology Site Data as the type and upload the example technology site file, then select Upload Data again and repeat the process with the technology candidate file.
If you uploaded the example files correctly, the model should look like this:
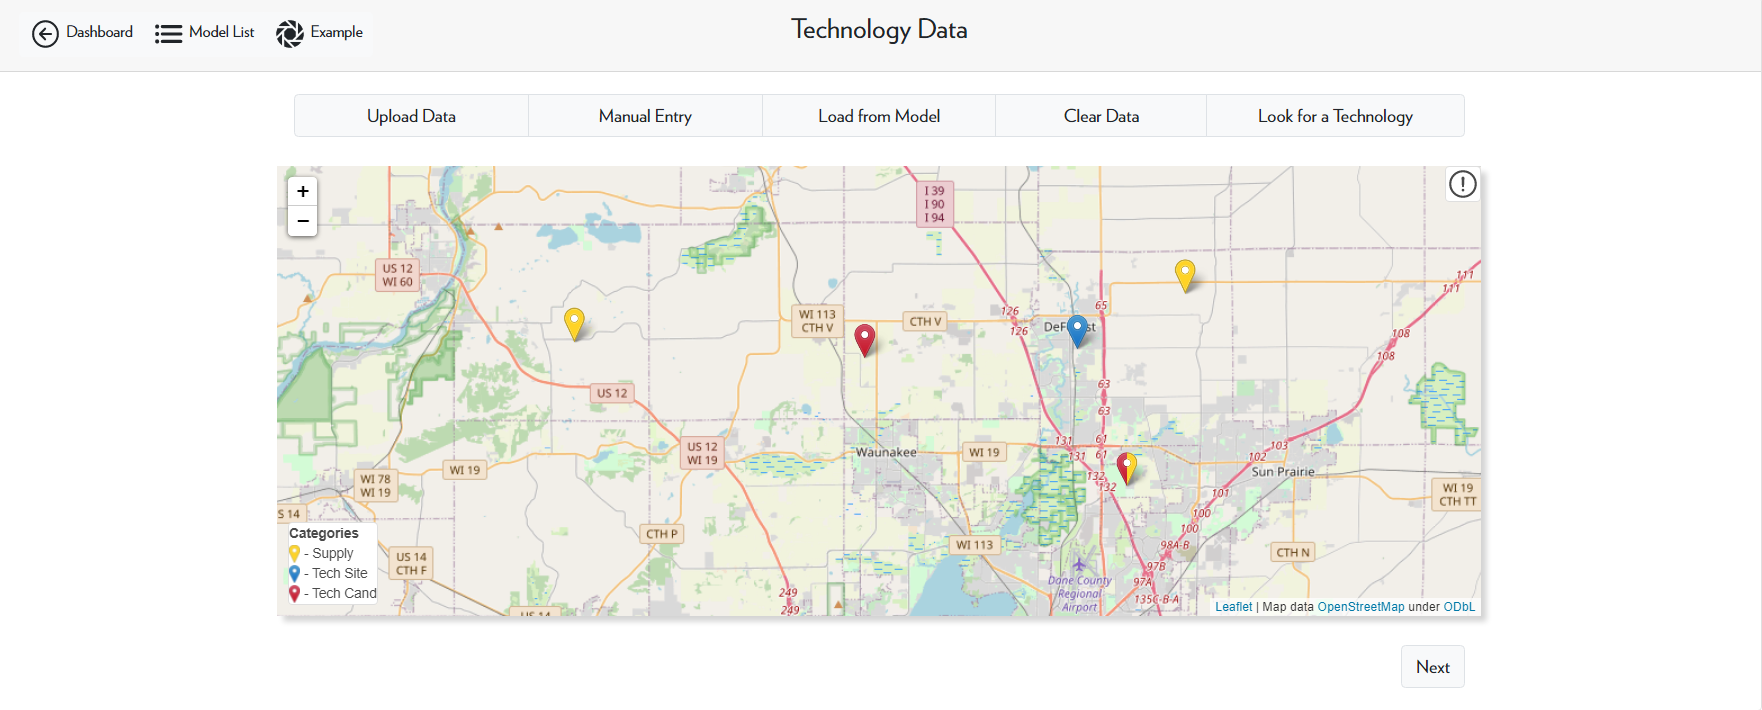
Then, click Next to save the technology data and proceed to the next step.
Step 5 - Transport Data
Step 5 is adding the transportation data to the model. For models with many nodes (over 200), you should select the Skip option. Otherwise, select Generate Transportation Routes. This will generate every possible pathway for each product. Make sure to select all the data layers before saving.
The digestate pathways overlap the bio-electricity pathways so you may have to toggle some of the data layers in order to view the bio-electricity pathways.
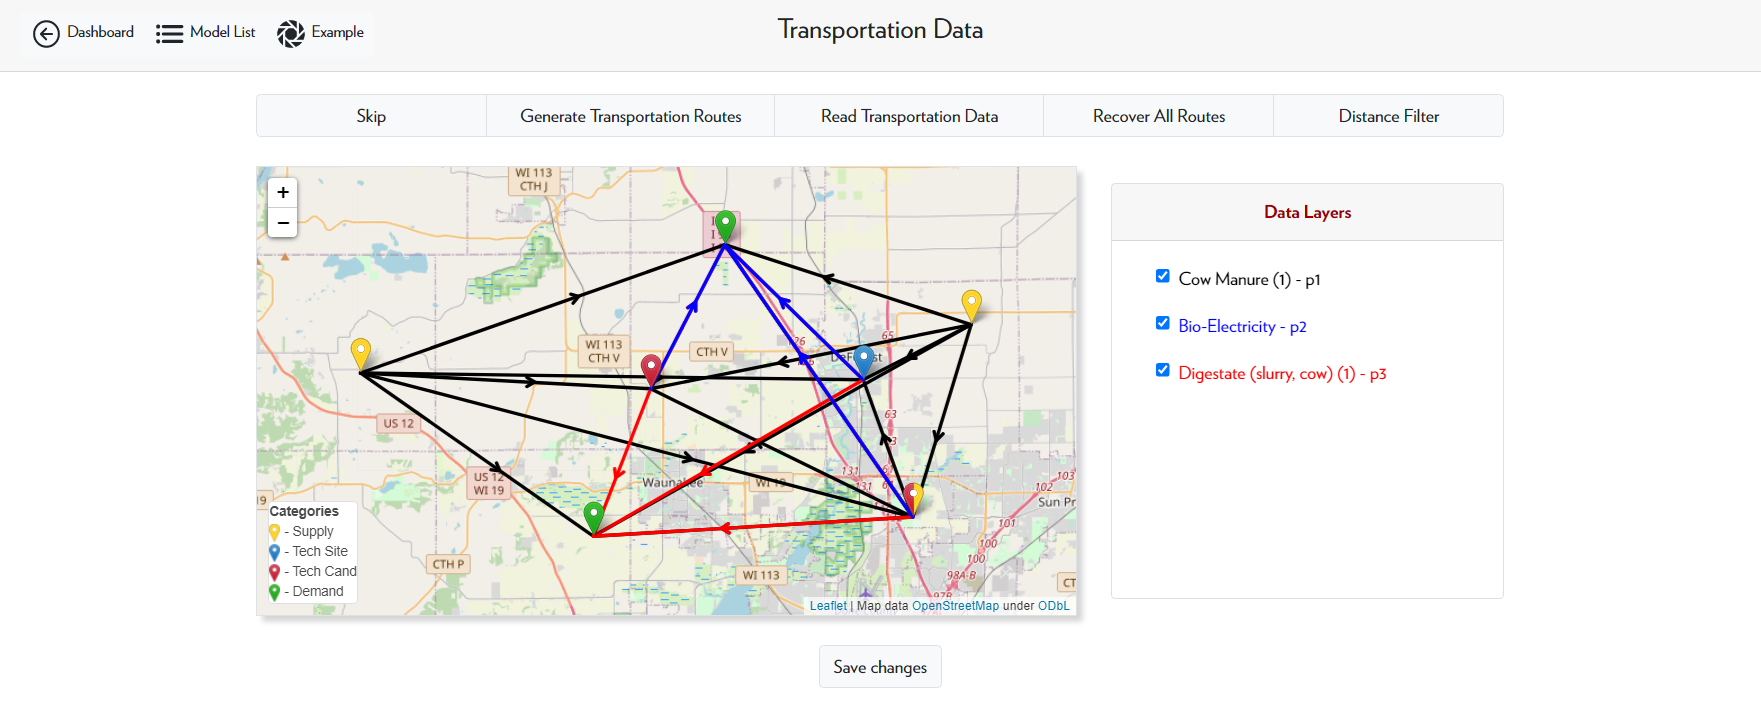
The Read Transportation Data option is used when you have previously generated transportation routes and have saved them. This option is slightly faster than generating new transportation routes.
After generating transportation routes, you can now use the distance filter option. This is an optional step that allows you to limit the transportation pathways to those within a certain distance range. Clicking Fit will apply the selected distance filter, and clicking Recover all Routes will remove the distance filter.
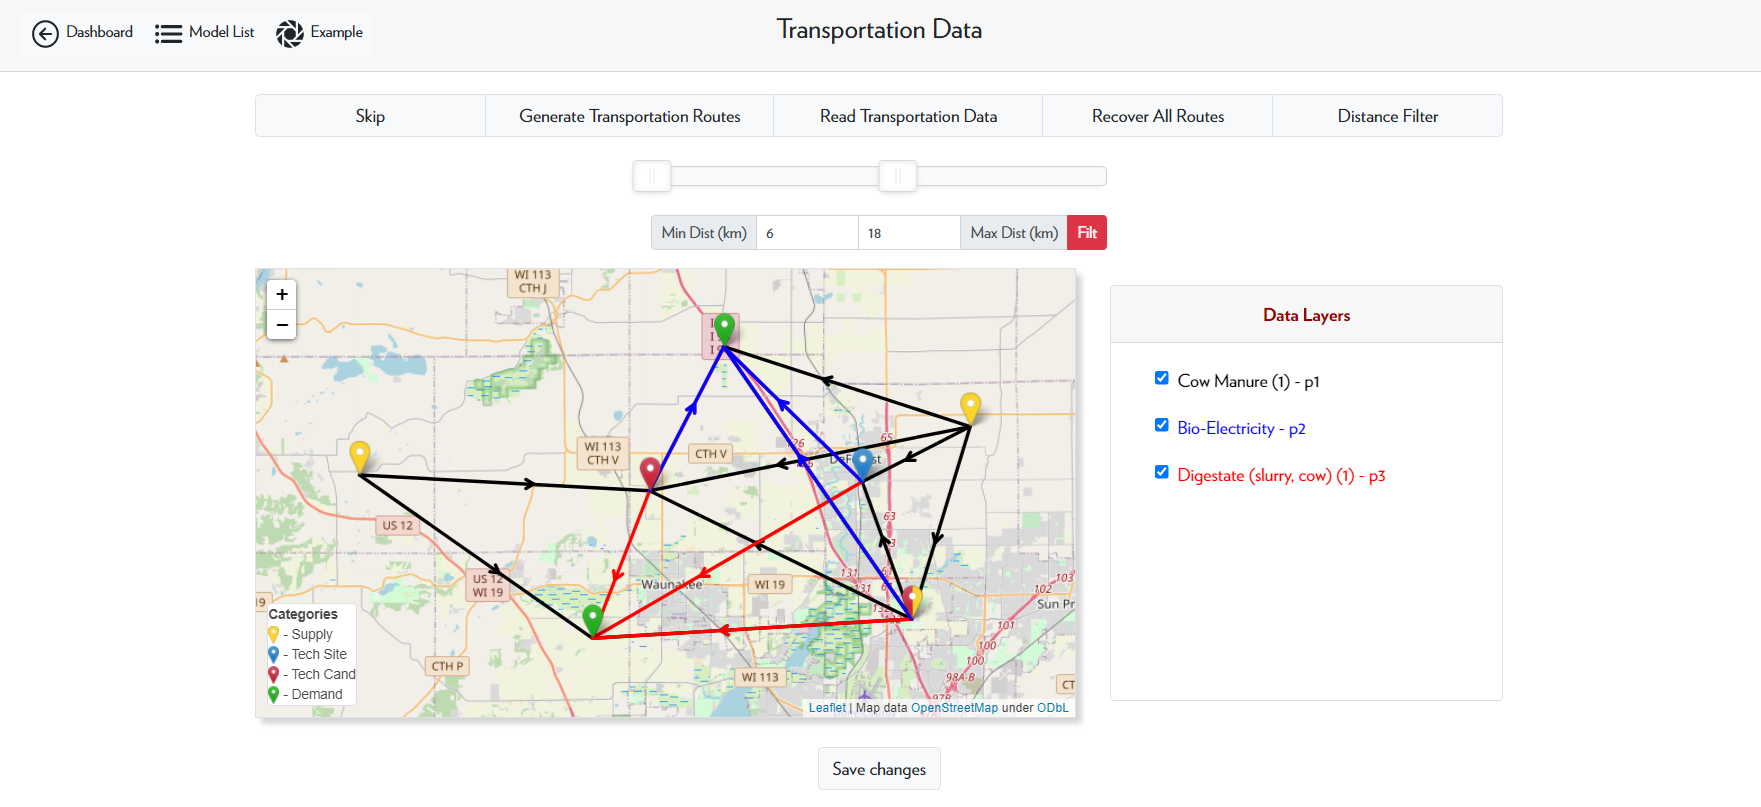
After applying the transportation routes, click Save Changes in order to save.
Step 6 - Run Model
Now that all of the input data is uploaded, the model is now complete. The final step is running the model.

Once the status is Completed, you may view the results. For more information on how to interpert the results, please refer to the Interpreting the Results Tutorial.

The Other Options
Besides the View Model Results option, there are also several other options that you can select. Below, there is a short description of the option and their functions.
| Option | Description |
|---|---|
| Clear Model Data | clears all data in the model |
| Delete Model | deletes the model from the model list |
| Load Model | loads data from another model into this model |
| Download Model Data | allows you to download all of the input data (supply, technology, demand) in the form of csv files |
| Get P-Graph | allows you to view the process graph for this system |